Refit is always
There has never been the one refit, and there will certainly always be major overhauls. Also, it would be nonsense to believe, that a one-off thorough overhaul protect against further problems. After a few years, something is due again, or new ideas are born. In addition, the development of various products (paints, adhesives, sealants, and oils) and smoother-running fittings always tempt you to make adjustments to ‘normal’ winter overhauls. It’s good to find competent advice in the immediate vicinity.
So, I have tackled various projects over the years and, more importantly, examined every detail of the boat. Simply that takes time. So a priority list emerged, there were urgent things and things that were pushed way to the back.
Unfortunately, only I have made pictures of the biggest project, the renewal of the teak deck. Therefore, here I list all the changes and renovations chronologically only.
First, it should be good maintenance, because the boat was in a good condition. All teak parts thoroughly treated and hand runners and coaming provided with varnish for visual reasons to protect against greying again. Too much grey teak really turns a Waarschip into a warship, especially as the cockpit painted grey.
Urgently a modernization of the handling needed:
– Redirection of the halyards and reefing lines into the cockpit, nowadays normal
– Reasonable clamps
– Trimming options for the mainsail, Cunningham, outhaul…
– Ball-bearing blocks also for the sheet ropes
It was time for new sails and since Waarschips are no longer up to date with todays sailing technology an enlarged rig was required. In 2003, amica got a new mast, almost 2 m more. This resulted in about 10% more sail area. With today’s sail sections, a Waarschip can generally handle more sail area, but back they didn’t calculate so precisely and preferred to stay on the safe side, i.e., slightly under-rigged.
The increase in size was a prerequisite for participation in many regattas. Accordingly, the boat gradually got into regatta trim, with appropriate fittings, foremost the spinnaker fittings.
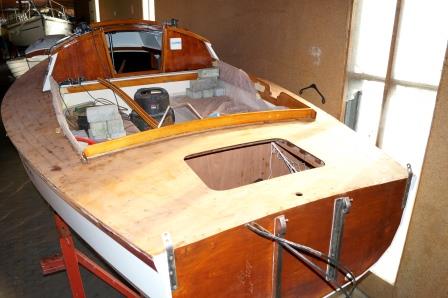
Afterward, I was more interested in the condition of the boat, i.e., what was hidden under the paint. Inside, everything is “natural”, immediately you can see discolouration in the wood, the precursor to rot. All the paint had to come off, which was mostly done with sanding (coarse with 60-grit, last remnants with 80-grit, fine with 150-grit). There was hardly anything to criticize.
In 2005, it was the turn of the underwater hull. The groove between the rudder and the stern had to be milled out. With a mahogany strip and epoxy, this area is being perfectly sealed again. Afterwards, I have sealed the underwater area 6 times with 2K primer.
2008 Started in the boat, not finished yet. Mainly this happens for visual reasons, everything looks healthy.
2012 rudder bearings replaced
2015 then the outer skin. In the aft area there was a small damaged spot in the first plywood layer, everything underneath was fine. Also, the outer skin I sealed with 2K primer and then painted with 2K varnish.
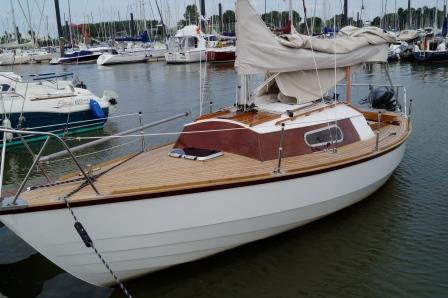
The conclusion: after 40 years, the wood is still in good condition. No extensive repairs were necessary. Certainly, this is due to good maintenance.
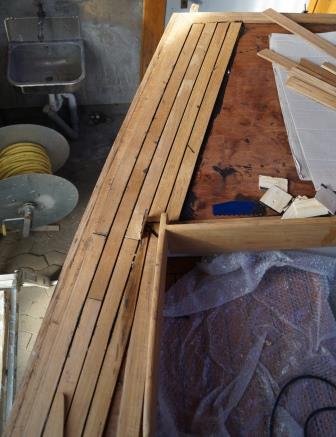
The most extensive project: renewal of the teak deck in 2014
Repeatedly I worked on the old teak deck, renewing plugs, re-casting joints and repairing small spots, but somewhere water was leaking through. In order to preserve the plywood underneath, I decided after intensive consultation: all down and new.
The first step was intensive planning. How many metres of stick cover mouldings were necessary, how many metres of coamings, skirting boards, scraper mouldings, glue, jointing compound, weights, and screw clamps. In addition, machines: electric planer, belt sander and random orbital sander. Everything should be ready before the boat even enters the hall.
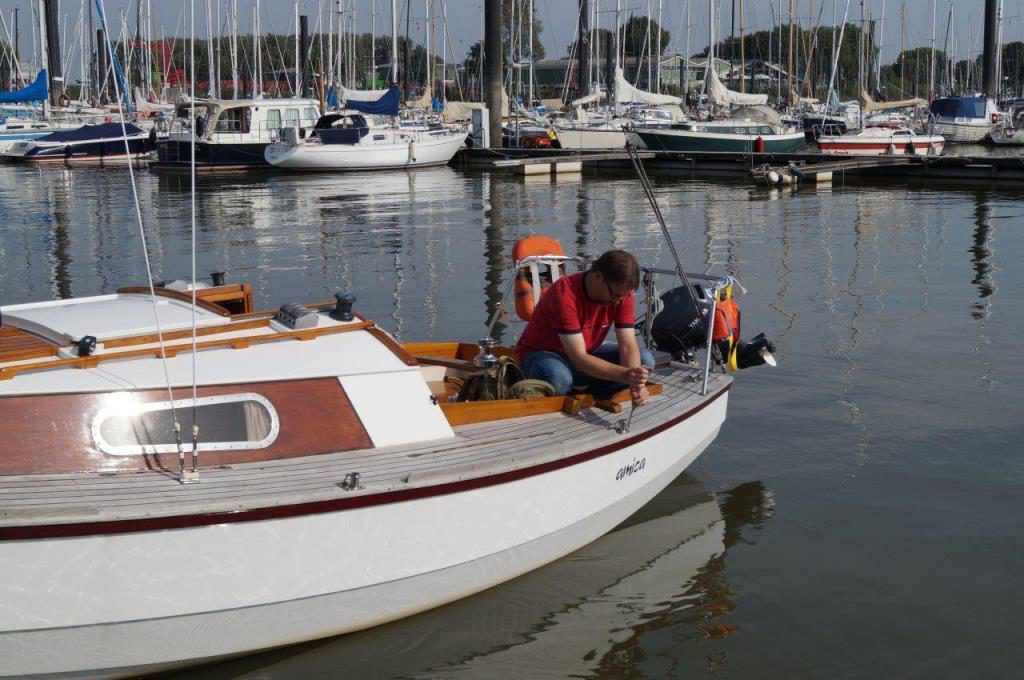
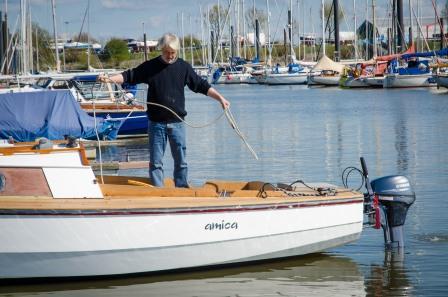
Dismantling fittings is also possible in the water, with the friendly support of helping hands.
Important: before planning, remove all screws. The planing knife is grateful.

Only nine of these plastic bags remained from the deck.

The deck after planing

The deck after sanding
First, the fish, only one board, in which the battens worked in one by one. Where is only the middle, or do I have to get used to crooked construction (instead of shipbuilding)?

The edge moulding with not yet rounded rubbing strake

First working in the fish

Strips, strips, and strips; only glued, nothing screwed

Towards the end

Tape the joints to keep the teak clean. However, that did not help much.

The result

The skipper be happy?
This will not be revealed, because he knows the places where……
2017 Refit, fitter and all fit
So, I guess I finally have the boat fit for touring. A little of electronics, a little of cosiness, a little of back shaft area and of course the aesthetics could not be missing. This winter I only have to paint the boat, everything else done for the 2018 trip.
Everyone notices the fuss at the stern now, but only the antenna mast added, and you can hardly see it. And of course that’s why I’m always asked where the boat is going. Yes, that is another way to make contacts.
Below deck, I used the conversion to replace old cables (about 15 years old) and to rebuild the switchboard. The navigation and communication corner in the smallest space, all-possible.
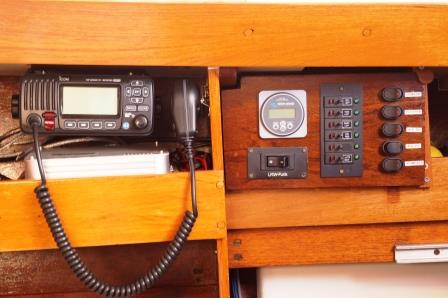
The switches on the right look little homemade, but prefabricated panels are just too big and too expensive for me. I had a quick look in an electronics shop and, lo and behold, you can assemble everything yourself in components. The aesthetics can still be improved, but it all works and the entire most important thing.
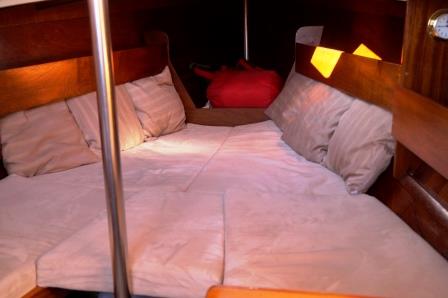
And this is my cosy corner in the foredeck. The pads glued together from three layers of foam of different densities – the softer one on top, of course. The fabric called Microfiber Alcantara with Teflon. It is a very light fabric, but it is supposed to be resistant to stains. Well, especially the sewing took a lot of time – after all, I am no expert. Nevertheless, the result is impressive.